Aluminum bracket installation differences
320/520/521/620 Disc Kit Installation
****NOTE*****
The brackets in the follow pictures are an older style and look slightly different than the version currently offered ****
The brackets in the follow pictures are an older style and look slightly different than the version currently offered ****
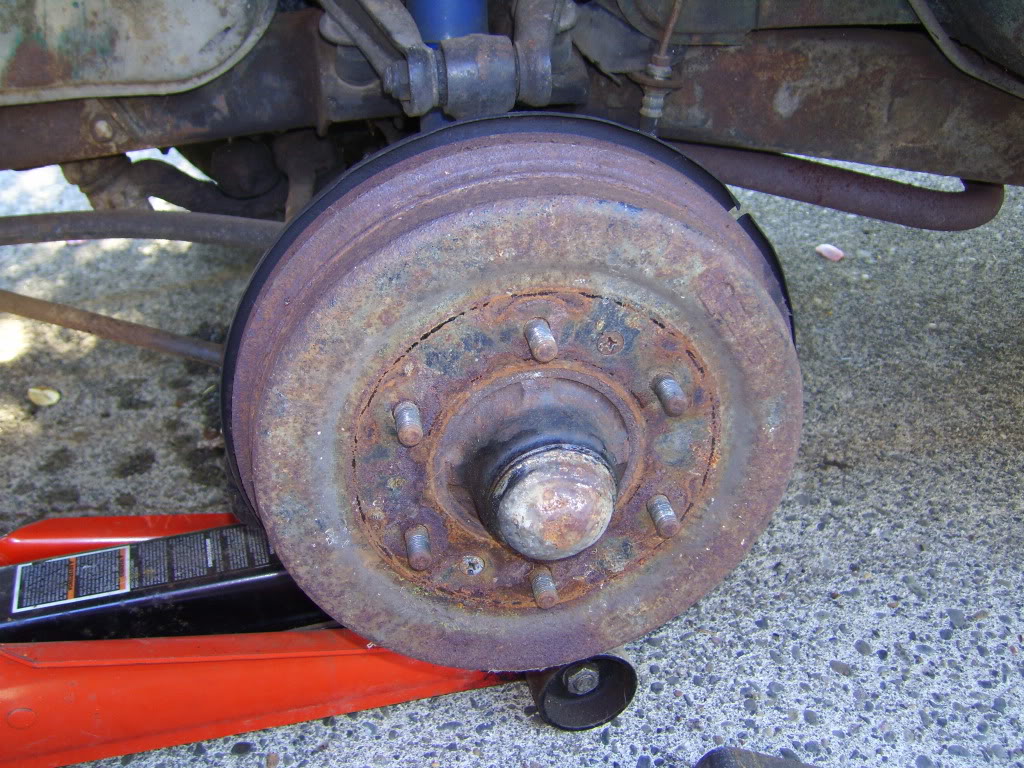
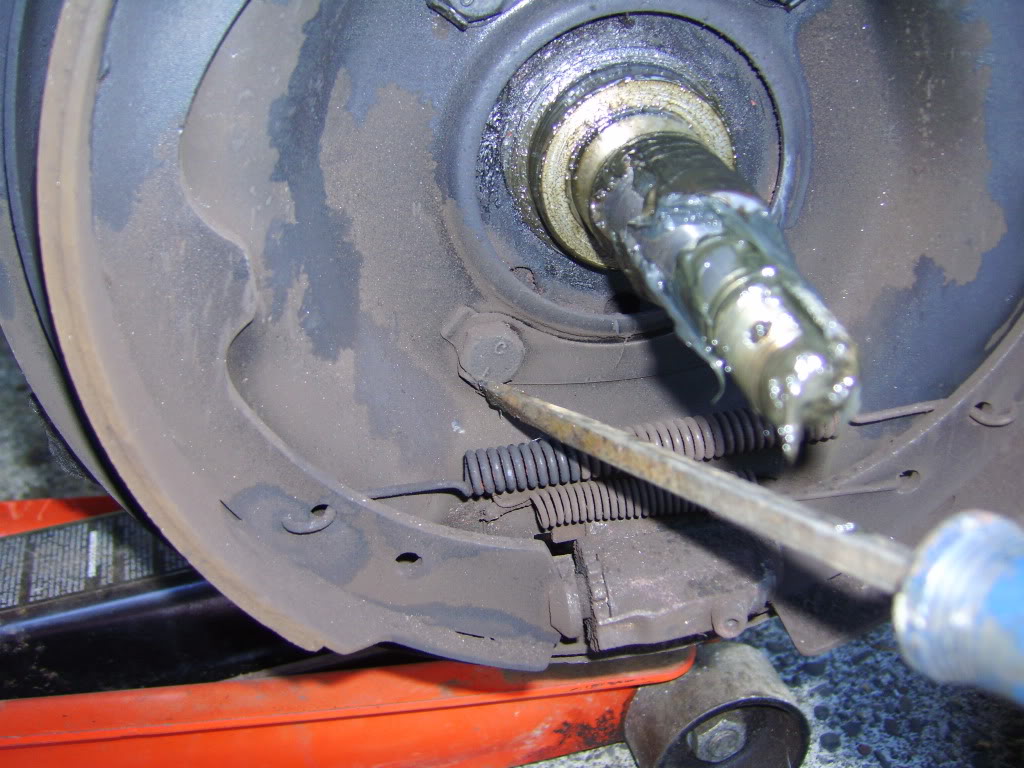
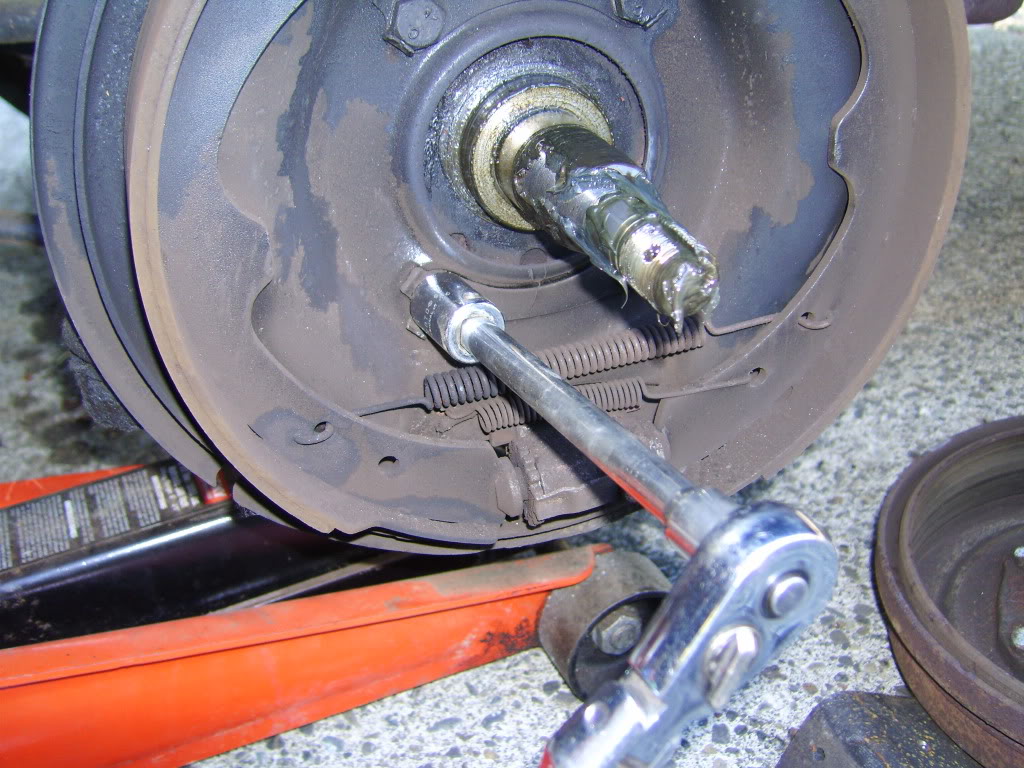
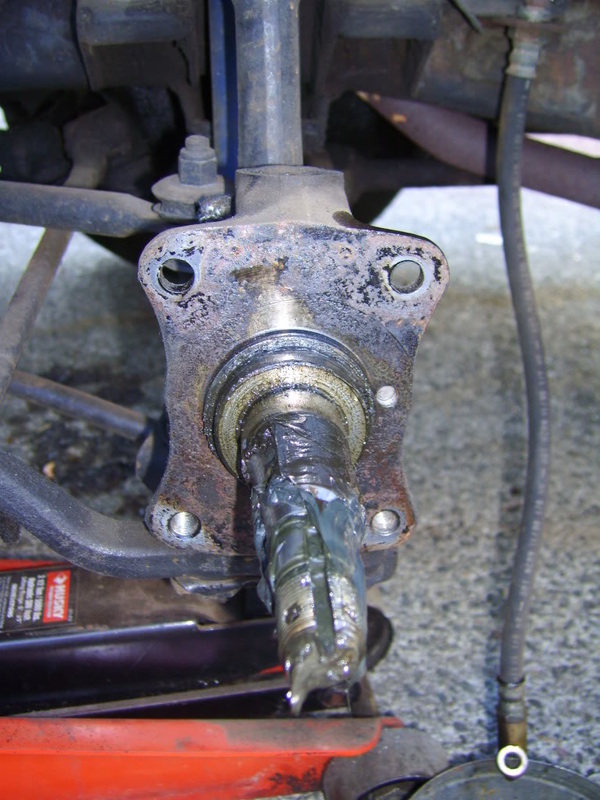
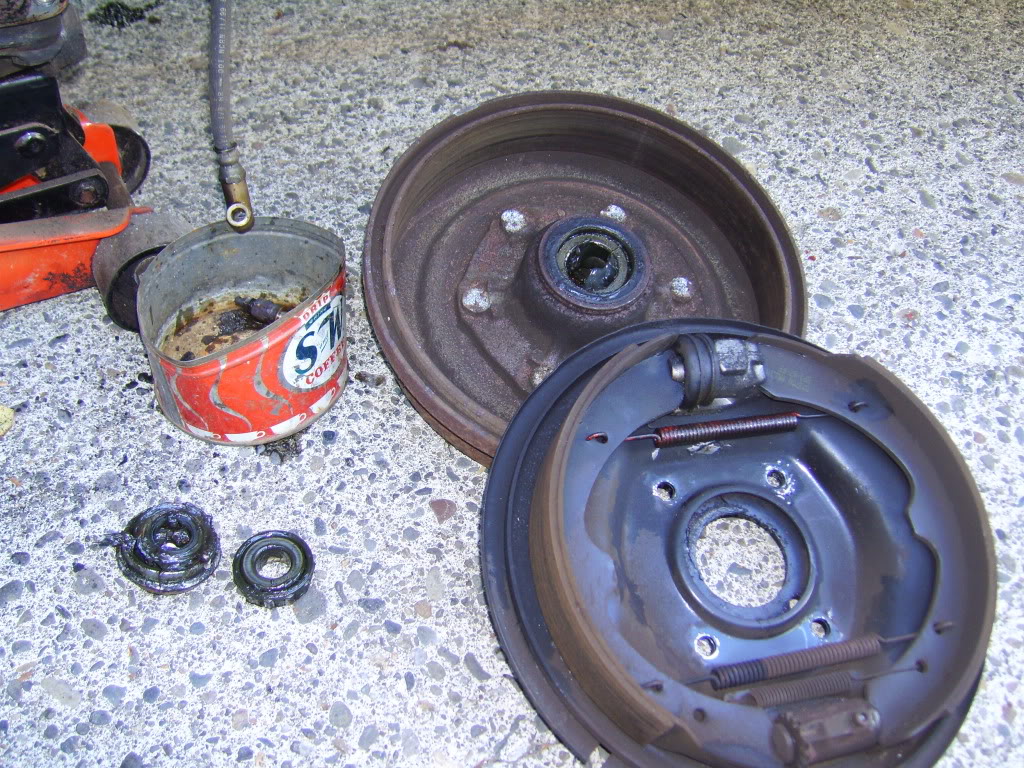
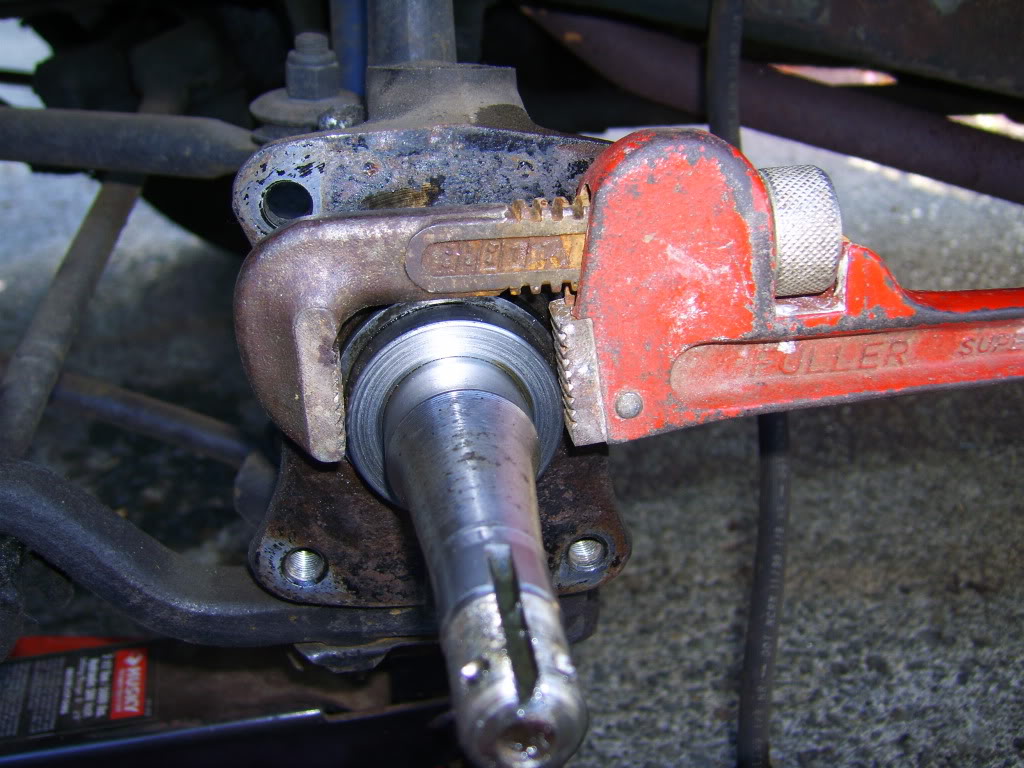
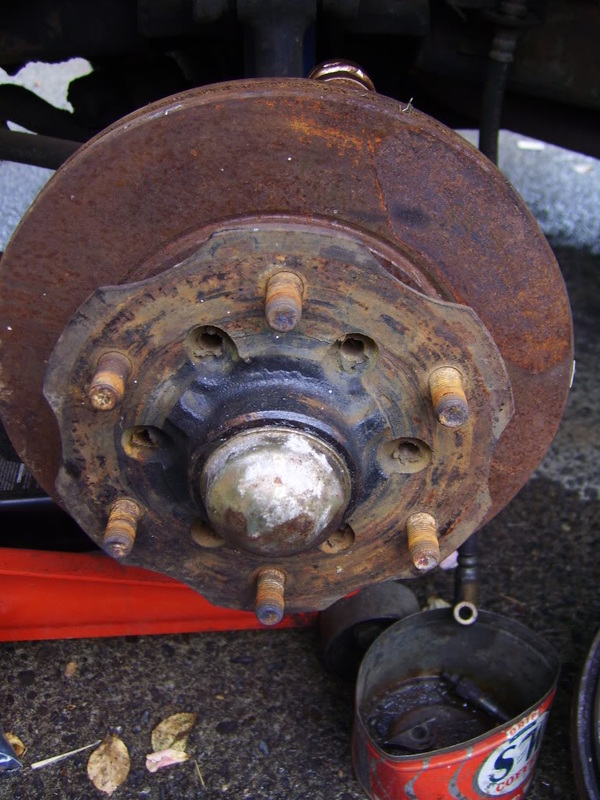
The original drums will look like this. You can either use large channel lock pliers to grab the cap and wiggle it off, or pry it off with a screwdriver. You can also use a cold chisel. Once the cap is off, remove the cotter pin, nut, washer and pull the hub/drum assembly off the spindle. Disconnect the brake hose. Bend the locking tabs out of the way with a screwdriver or chisel. Remove the 4 bolts holding the backing plate. On all models, but the 620, there will be nuts on the backside of the spindle for the top two bolts. Using a pipe wrench or a chisel, remove the spacer at the base of the spindle. Now would be a good time to clean the spindle. You will reuse the locking tab for the bottom bolts and the spindle nut and washer. Do not reuse the old cotter pin.
**********************************************
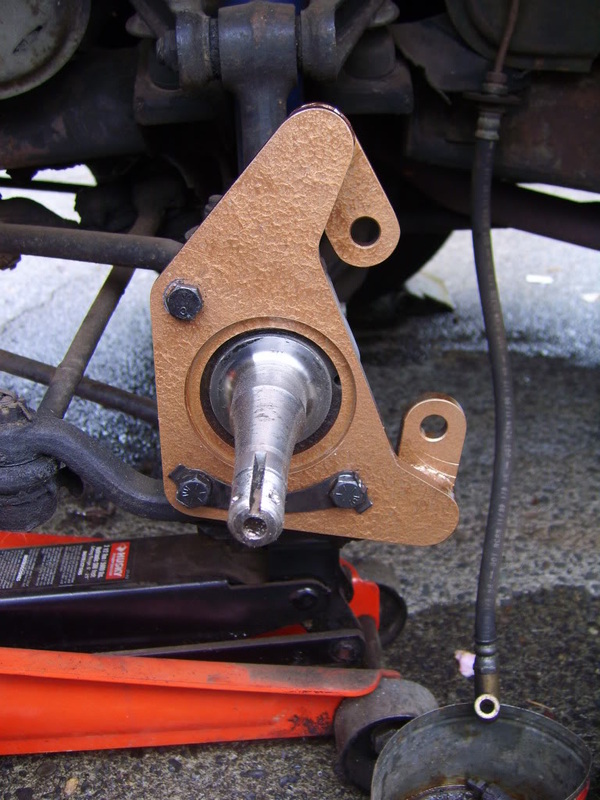
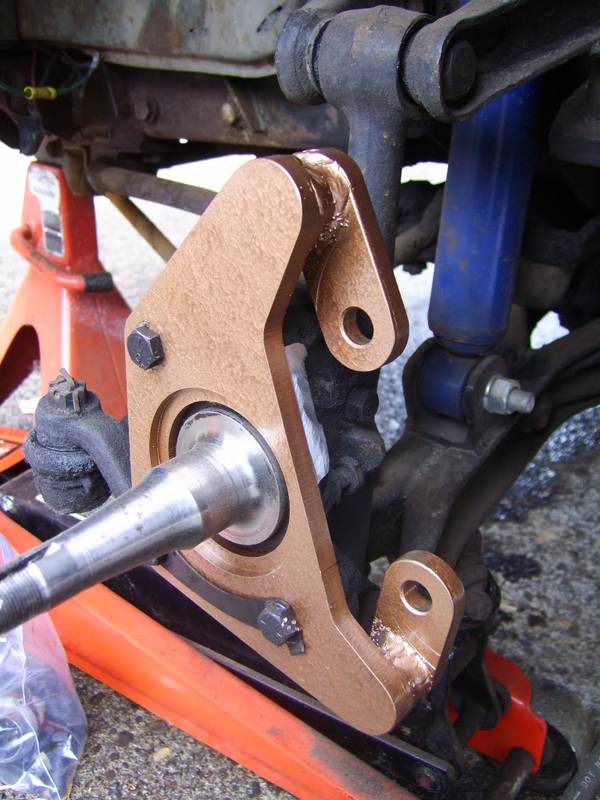
ON ALL INSTALLATIONS, THE BRACKETS MOUNT TOWARD THE REAR OF THE VEHICLE, AWAY FROM THE STEERING ARM.
**********************************************
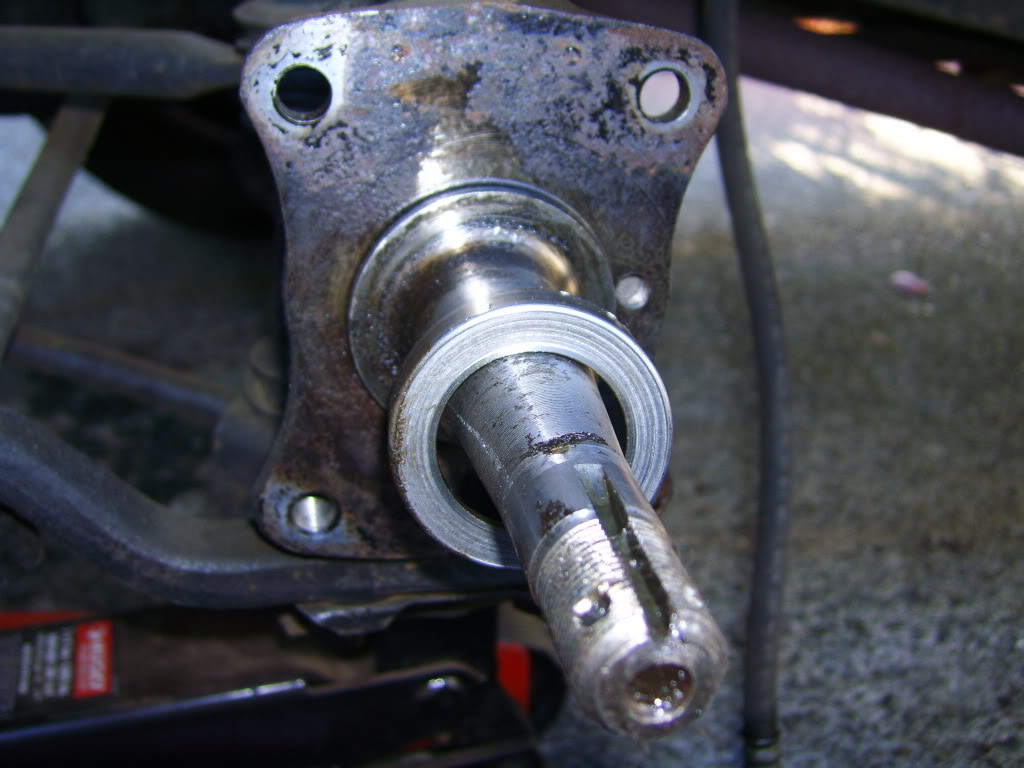
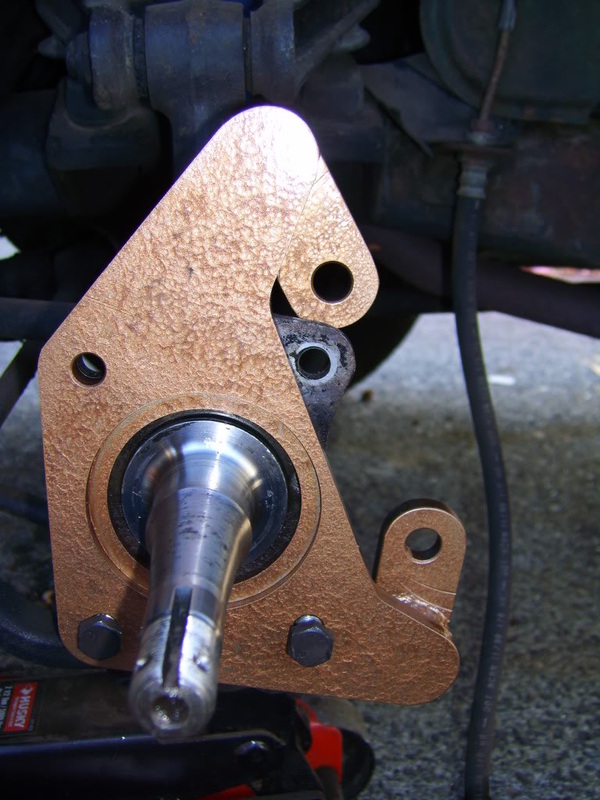
***With the new aluminum bracket, the marking of the spindle is done with a paper template which can be downloaded.....here.
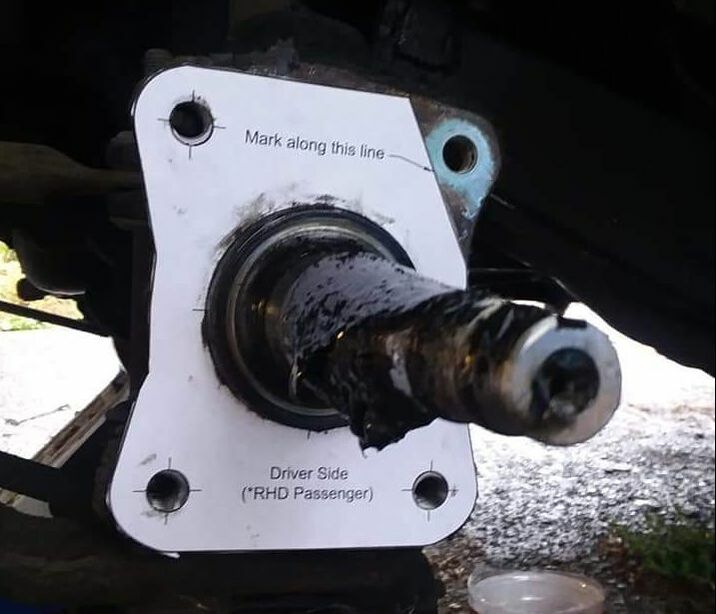
Photo courtesy of Alyssa H. Thank You!!
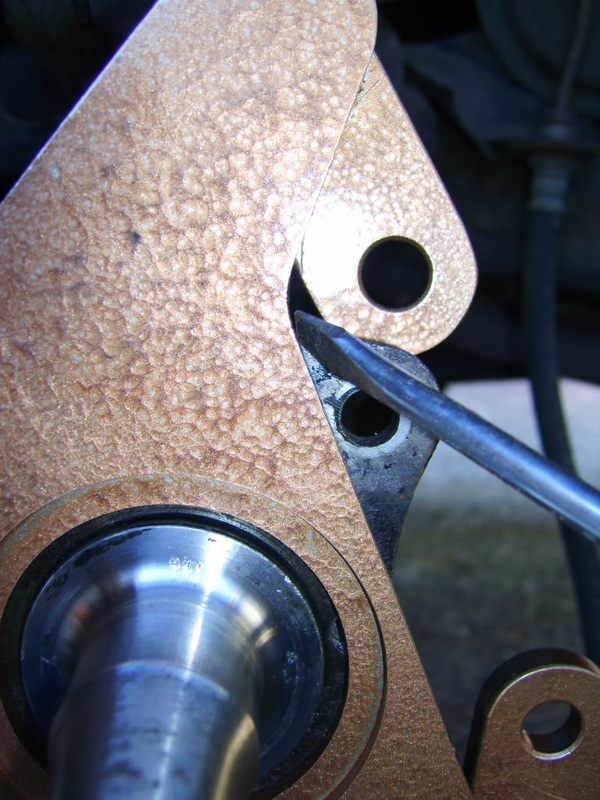
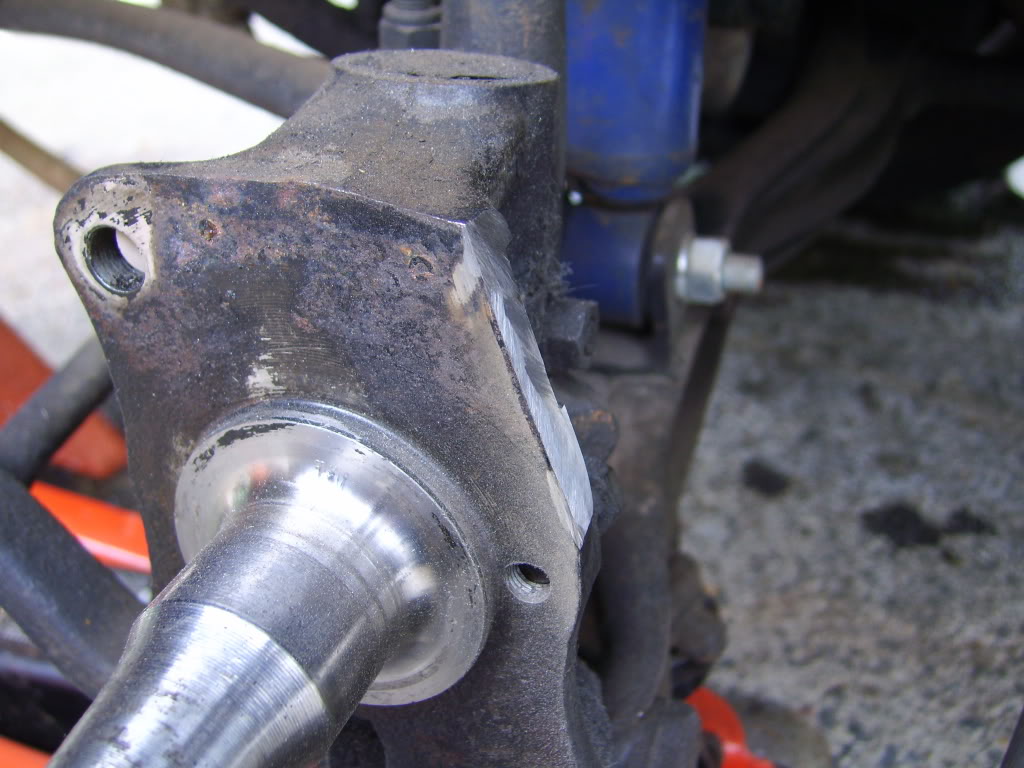
If you have the older style, steel brackets, you can use the bracket to mark the spindle for cutting.
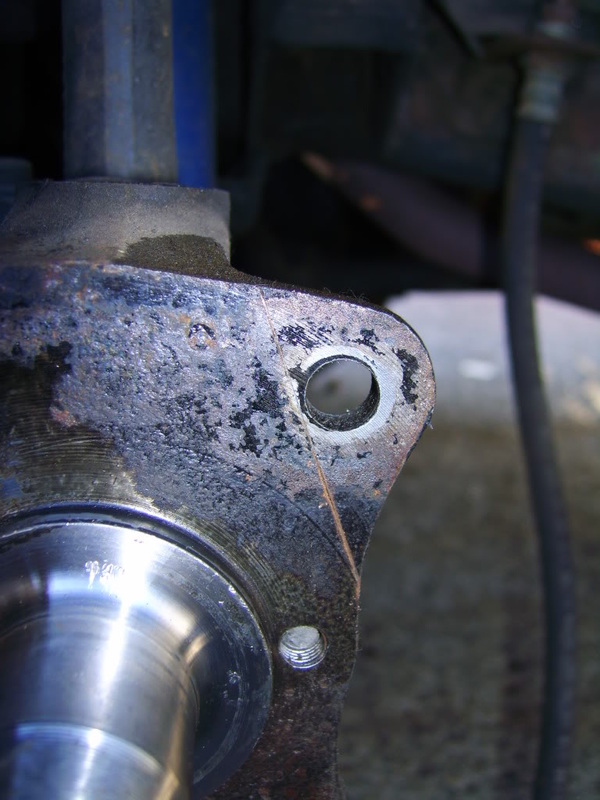
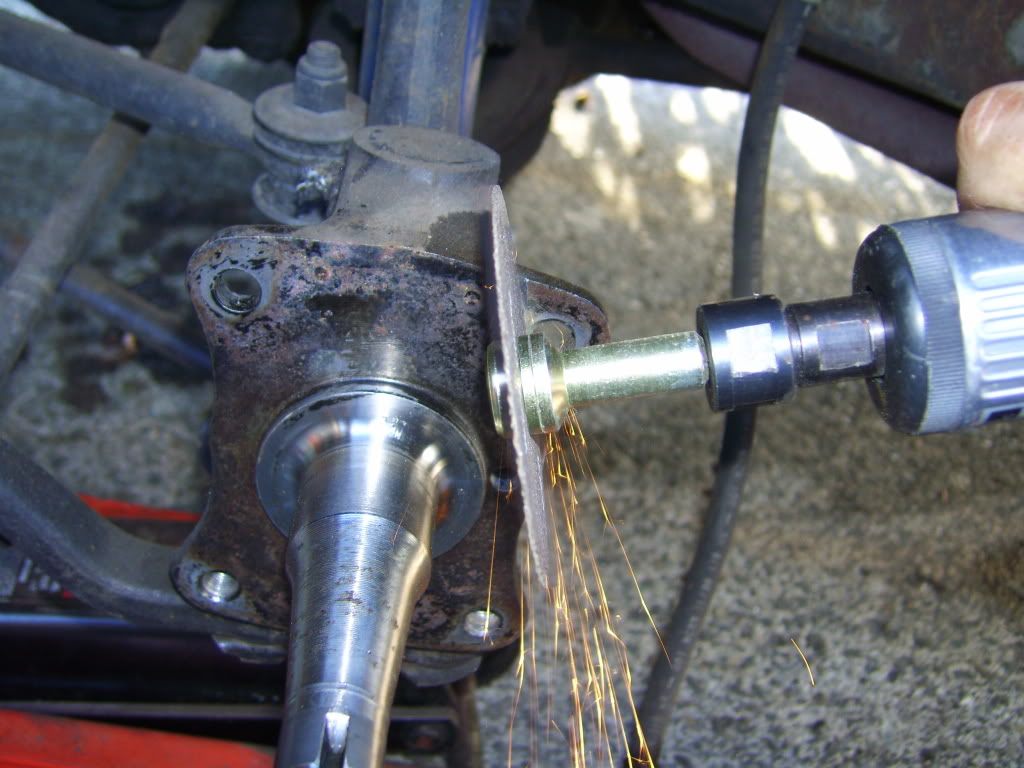
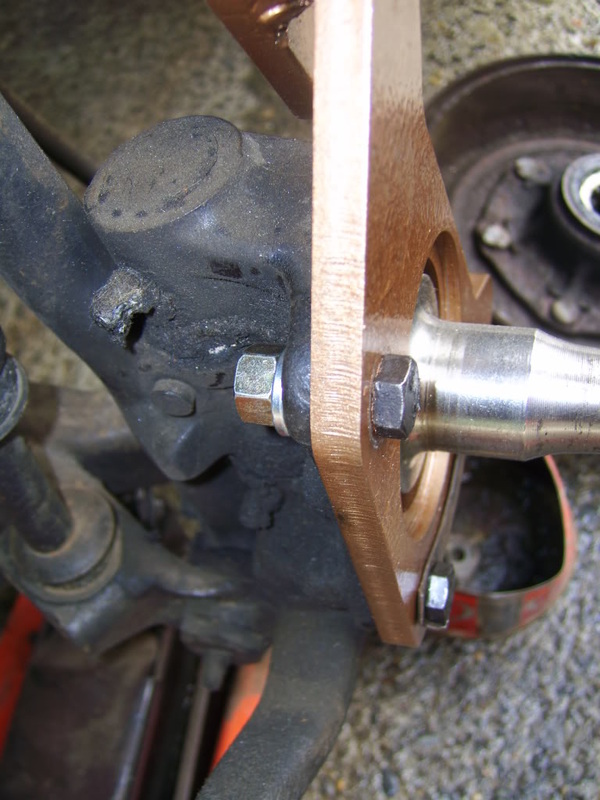
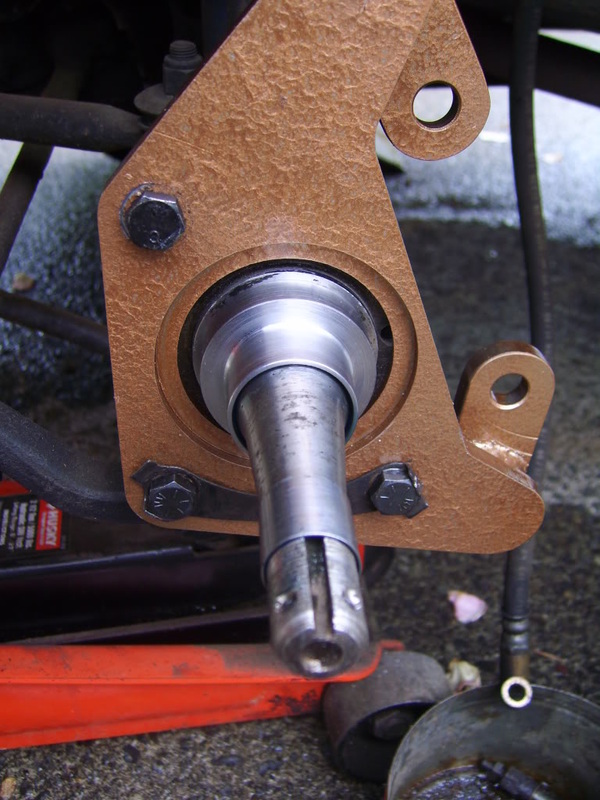
Temporarily mount the caliper bracket. The mounting tabs should be to the inside of the truck and toward the rear. In these pictures the front of the truck is to the left. Mark the ear to be removed. You can remove it with a cutoff wheel as shown. A hacksaw or sawzall will also work. Clean up any sharp edges. You may want to paint the spindle at this time to prevent corrosion. Do not paint the shiny machined surfaces of the spindle itself. You can now remount the bracket permanently using the new bolts in the kit. I have not been able to locate factory torque specs for these bolts, so if you're unsure on how tight to make them, please consult a professional mechanic.
!!!NOTE:!!!
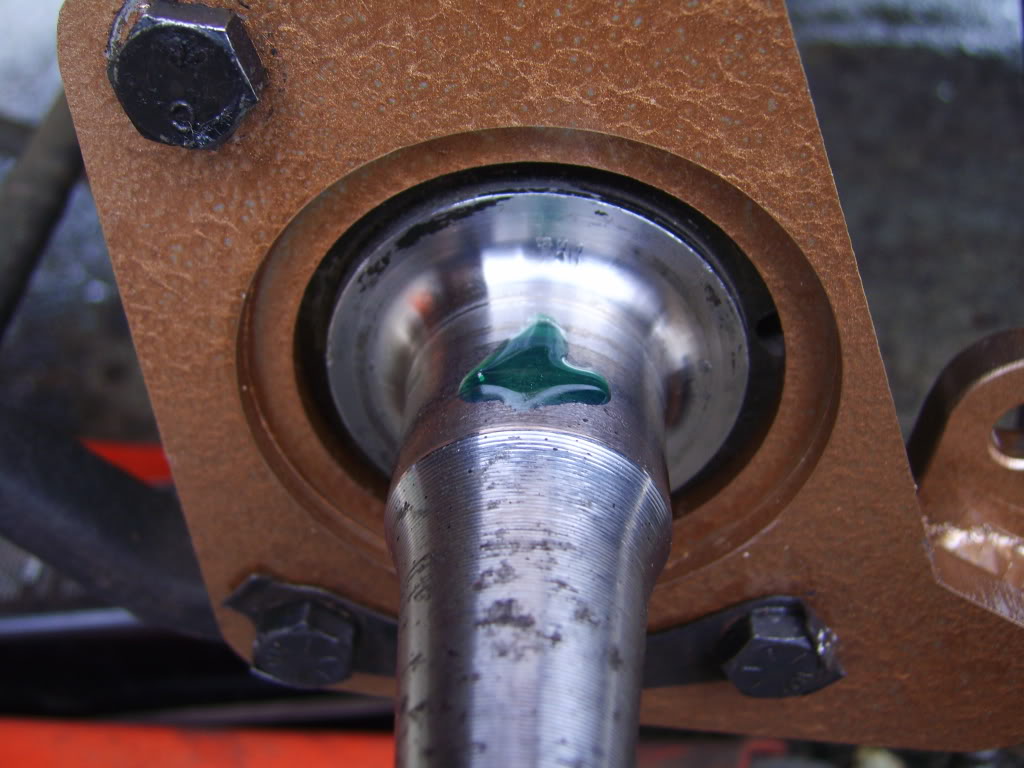
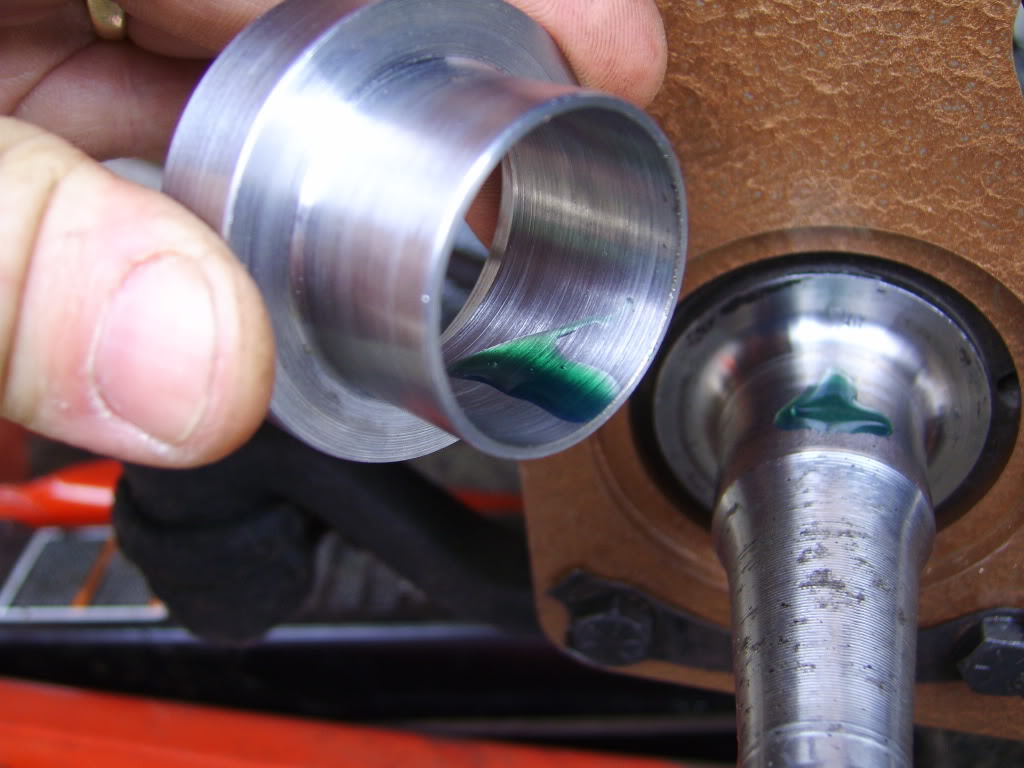
All of the aluminum bracket kits utilize the slip-on style adapters. Loctite 680 is provided in the kit.
If you have an older, steel bracket kit, there were two different bearing adapters used. Some of the kits will have a heat-to-fit and some will have a slip-on style that is locked on with loctite 680 bearing and shaft retainer(included).
Heat-to-fit style:
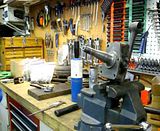
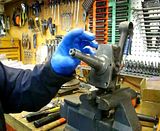
These videos should give a pretty good idea of how to install the bearing adapters. Be careful to heat them enough to slip on easily and to get them all the way on before they cool down and shrink into place.
(These will take you to my Photobucket account. I was having too much trouble trying to load them into Weebly)
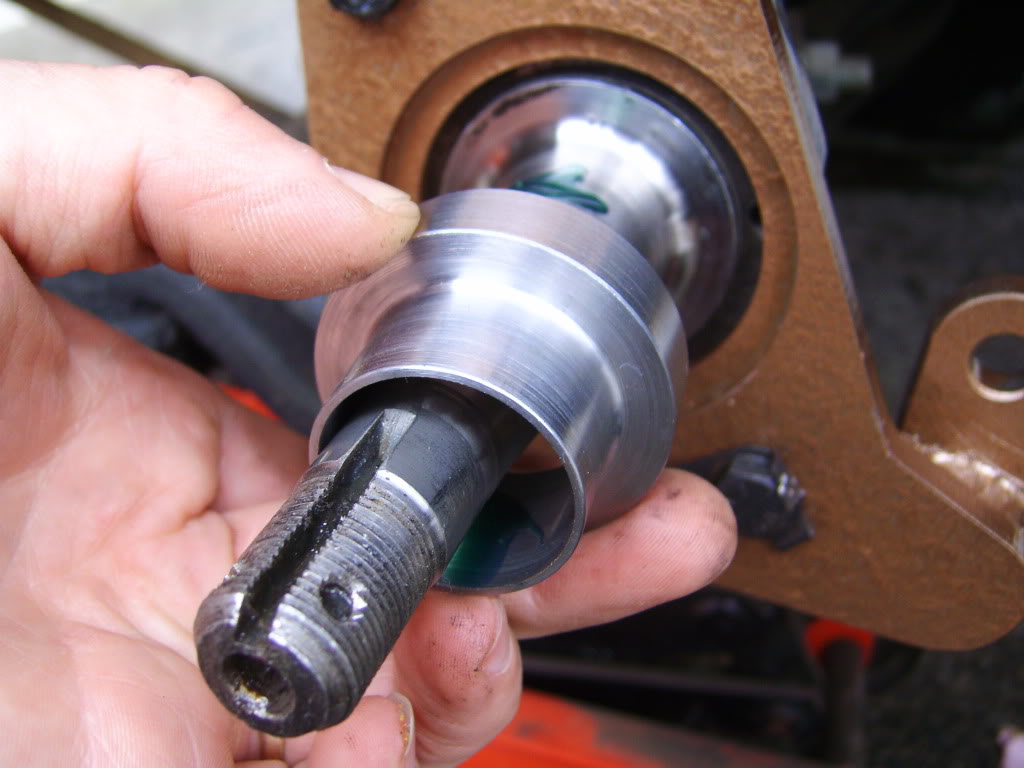
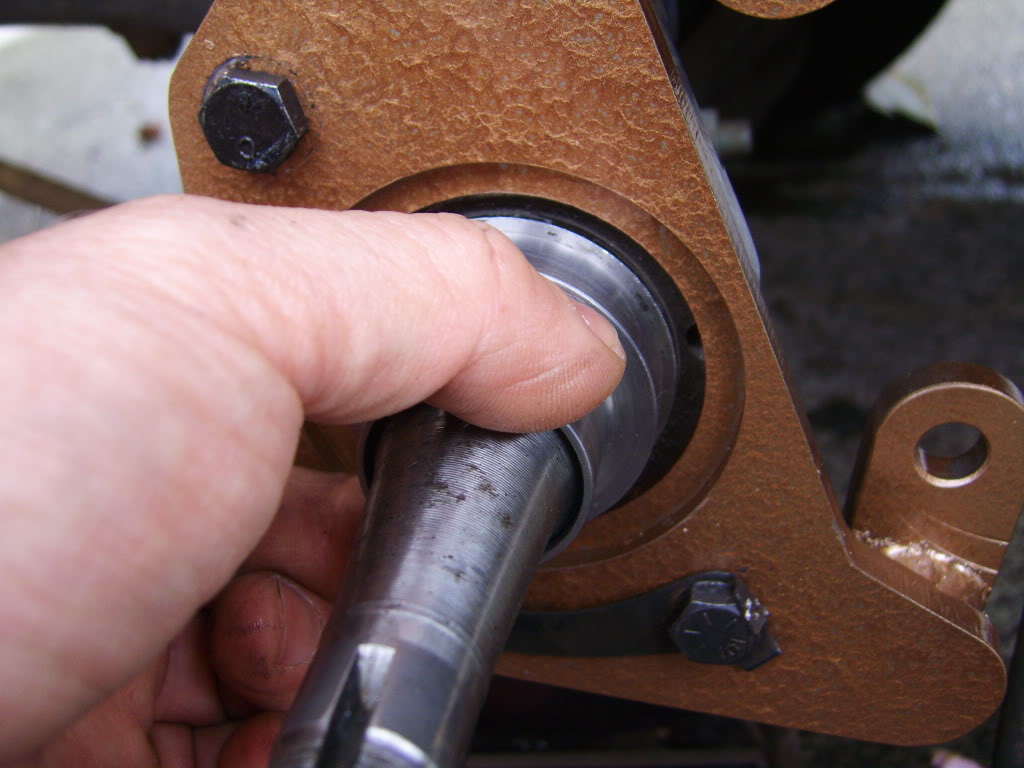
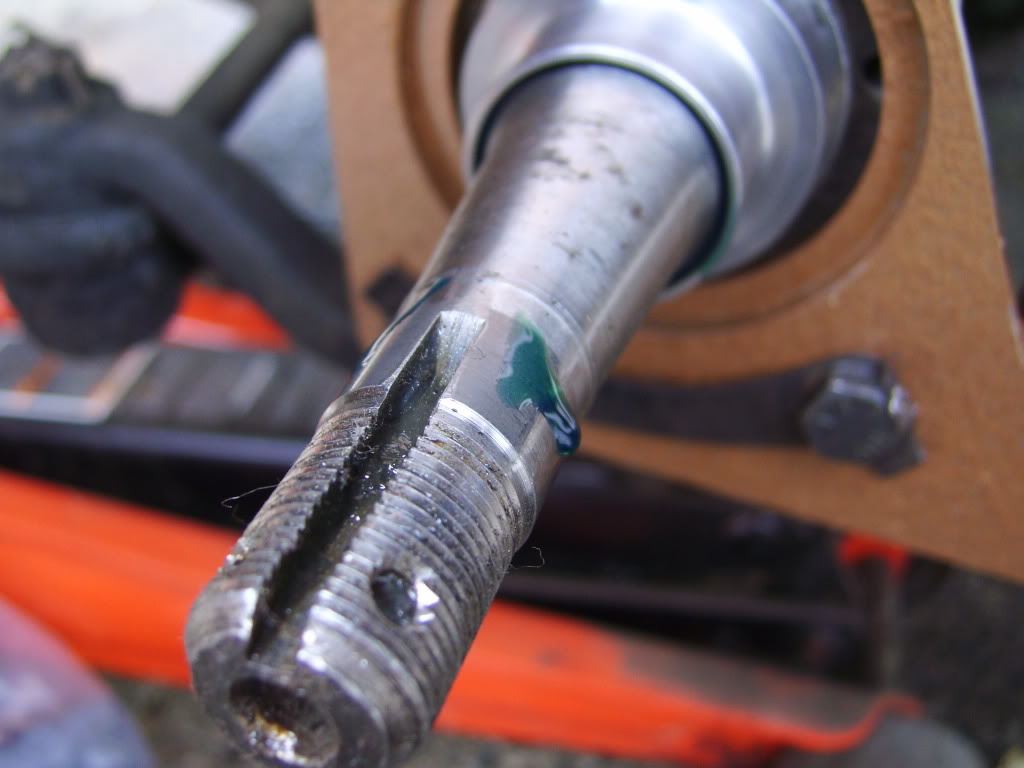
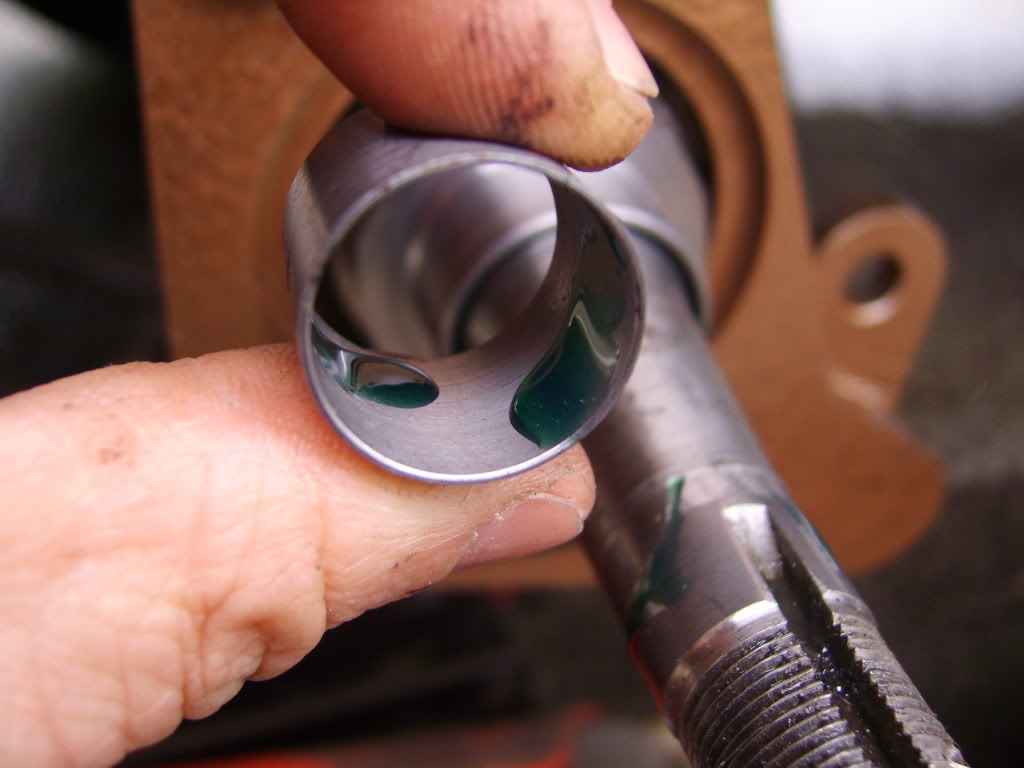
Loctite held slip-on style:
Once the adapter is on the spindle in the correct location, twist the adapter clockwise and counterclockwise about 1/8 of a turn to fully smear the loctite onto both surfaces.
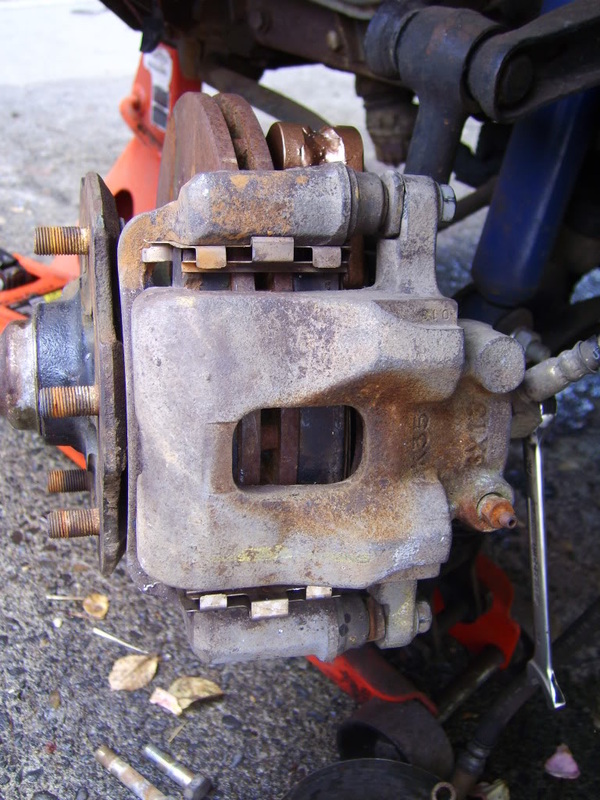
Once you have the adapters on, you can install your 720 hubs/rotors and calipers. The aluminum kit uses HB rotors. Again, if you are unsure about how to pack the bearings, set the preload, and mount the calipers, please have a professional mechanic do this for you. These brakes will increase the safety of these old trucks, but only if they're installed correctly. The last picture is from the installation on my '64 NL320. It was the test bed for the prototype version of this setup. The rest of the pictures are from an installation done by James(DatOLantern) on his L320. Thanks James!!


!!!!NOTE!!!!
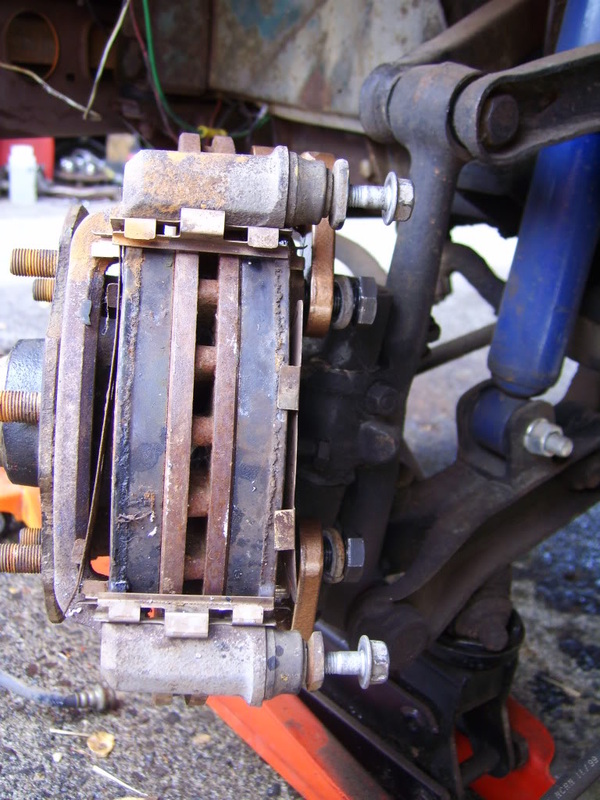
The calipers in the above pics are on the wrong side and therefore, upside down. This was a mockup, not a finished installation. Bleeder valves need to be up to facilitate proper bleeding.
The calipers in the above pics are on the wrong side and therefore, upside down. This was a mockup, not a finished installation. Bleeder valves need to be up to facilitate proper bleeding.
Here's a link to a youtube playlist with the installation videos.
https://www.youtube.com/playlist?list=PLAUFP46xkHEyVOyl1N1ZyFtd5chLtKy1I
...and a thread on Ratsun.net which may have a bit more info than the playlist
https://ratsun.net/topic/54486-disc-brake-kit-install-mklotz70/
Misc Info:
At this point, the installation of the kit is complete, but there are a few more items to mention.
Stock rims: The aluminum brackets do not require any wheel spacers for stock, steel 14" rims to fit. This is because they use the HB rotor, which has a taller top hat, allowing more caliper to rim clearance.
In order to use stock rims(320, 520, 521, 620) with the steel bracket kit, you will need to use a 1/8" wheel spacer (not included). A small amount of clearance grinding may still be necessary. If 1/4" wheel spacers are used, no grinding is required, but it may require longer wheel studs. For more info on the wheel spacers, stock rims and the lug bolts, go to the Stock Rim page.
In order to use stock rims(320, 520, 521, 620) with the steel bracket kit, you will need to use a 1/8" wheel spacer (not included). A small amount of clearance grinding may still be necessary. If 1/4" wheel spacers are used, no grinding is required, but it may require longer wheel studs. For more info on the wheel spacers, stock rims and the lug bolts, go to the Stock Rim page.
Master cylinder(m/c): 320/520/521 I would highly recommend that you upgrade m/c to a dual reservoir unit like the ones found in the later models. The '78 280z m/c(7/8" bore) and the '79 620 m/c(13/16" bore) have both been used. Minor modifications to the m/c mounting holes and the opening in the firewall are req'd. Both of these m/c's are metric and will require adapters, new lines, or new metric flare nuts to be used. The truck will stop with the original m/c, but since it is a single circuit, it will tend to lock up the rear brakes under heavy braking in dry conditions and even moderate braking in wet conditions.
620 These modifications should not be required when upgrading a 620, since it already has a dual reservoir m/c. You should upgrade the m/c to one of the disc/drum versions listed, but it should install without any modifications.
Proportioning valve: I would also recommend that an adjustable proportioning valve be installed in the rear brake circuit. The above mentioned m/c's are for disc/drum setups, but because of weight proportioning, they may not be biased correctly. An adjustable proportioning valve will allow you to compensate for these differences.
Donor Vehicle and Part Information(click here)